The ppa repository must be added this way
sudo add-apt-repository ppa:mapopa
Then you need to update the cache repository
sudo apt-get update
Here is how you can inspect the firebird2.5 related packages
apt-cache search firebird2.5-*
Install
the super server package (you will be asked about the SYSDBA password
and what service to enable : Super Server, Classic or Super Classic )
sudo apt-get install firebird2.5-super
The following extra packages will be installed:
  firebird2.5-common firebird2.5-common-doc firebird2.5-dev firebird2.5-server-common libfbclient2 libib-util
Suggested packages:
  libfbembed2.5 firebird2.5-examples firebird2.5-doc
The following NEW packages will be installed:
  firebird2.5-server-common firebird2.5-super
The following packages will be upgraded:
  firebird2.5-common firebird2.5-common-doc firebird2.5-dev libfbclient2 libib-util
5 upgraded, 2 newly installed, 0 to remove and 21 not upgraded.
Need to get 5,442kB of archives.
After this operation, 11.3MB of additional disk space will be used.
Do you want to continue [Y/n]? y
Or install Classic or Super Classic if you have more than one cpu (dual core or SMP machine) and want SMP support
sudo apt-get install firebird2.5-classic
or
sudo apt-get install firebird2.5-superclassic
You need to configure the package after is installed
sudo dpkg-reconfigure firebird2.5-super
Install the examples and dev files
sudo apt-get install firebird2.5-examples firebird2.5-dev
The employee.fdb archive will be under this dir /usr/share/doc/firebird2.1-examples/examples/empbuild/
cd /usr/share/doc/firebird2.5-examples/examples/empbuild/
sudo gunzip employee.fdb.gz
sudo chown firebird.firebird employee.fdb
sudo mv employee.fdb /var/lib/firebird/2.5/data/
Connect to database using the isql-fb console
$ isql-fb
SQL> connect "/var/lib/firebird/2.5/data/employee.fdb " user 'SYSDBA' password 'SYSDBApassword';
always
use localhost: in front of db path when using classic or superclassic
in 2.5 this way the lock files and the shared memory segment will be
owned by the 'firebird' user. Another alternative is to add yourself to firebird group
$ sudo adduser `id -un` firebird
Then connect to the db in superclassic or classic
$ isql-fb
SQL> connect "localhost:/var/lib/firebird/2.5/data/employee.fdb " user 'SYSDBA' password 'SYSDBApassword';
If all is ok then you will have the message with what database connected and what user and ready to use sql prompt
Database:  "/var/lib/firebird/2.5/data/employee.fdb ", User: SYSDBA
SQL>
Now you can check the server version and the tables
SQL> show tables;
       COUNTRY                                CUSTOMER
       DEPARTMENT                             EMPLOYEE
       EMPLOYEE_PROJECT                       JOB
       PROJECT                                PROJ_DEPT_BUDGET
       SALARY_HISTORY                         SALES

SQL> show version;
ISQL Version: LI-V2.5.0.* Firebird 2.5
Server version:
Firebird/linux Intel (access method), version "LI-V2.5.0.* Firebird 2.5"
Firebird/linux Intel (remote server), version "LI-V2.5.0.* Firebird 2.5/tcp (eeepc)/P11"
Firebird/linux Intel (remote interface), version "LI-V2.5.0.* Firebird 2.5 Release Candidate 2/tcp (eeepc)/P11"
on disk structure version 11.1
To create a new database
SQL> create database "/var/lib/firebird/2.5/data/first_database.fdb" user 'SYSDBA' password 'SYSDBAPASSWORD';
SQL> connect "/var/lib/firebird/2.5/data/first_database.fdb" user 'SYSDBA' password 'masterkey';
Commit current transaction (y/n)?y
Committing.
Database:  "/var/lib/firebird/2.5/data/first_database.fdb", User: SYSDBA
SQL>
If you want to create a simple table then insert 1-2 rows and select from it here is one example
SQL> CREATE TABLE TEST (ID INT NOT NULL PRIMARY KEY, NAME VARCHAR(20));
SQL> show tables;
       TEST
SQL> INSERT INTO TEST VALUES (1, 'John');
SQL> INSERT INTO TEST VALUES (2, 'Joe');
SQL> select * from test;

          ID NAME
============ ====================
           1 John
           2 Joe
To quit the isql-fb console type quit
SQL> quit
CON>;
For
a good open source GUI admin tool you might check the flamerobin
administration tool included in ubuntu repository can be installed by an
simple
sudo apt-get install flamerobin
Then use it from the menu Applications->Programming-> FlameRobin
To use firebird with php , you will need the php5 driver
sudo apt-get install php5-interbase
sudo /etc/init.d/apache2 restart
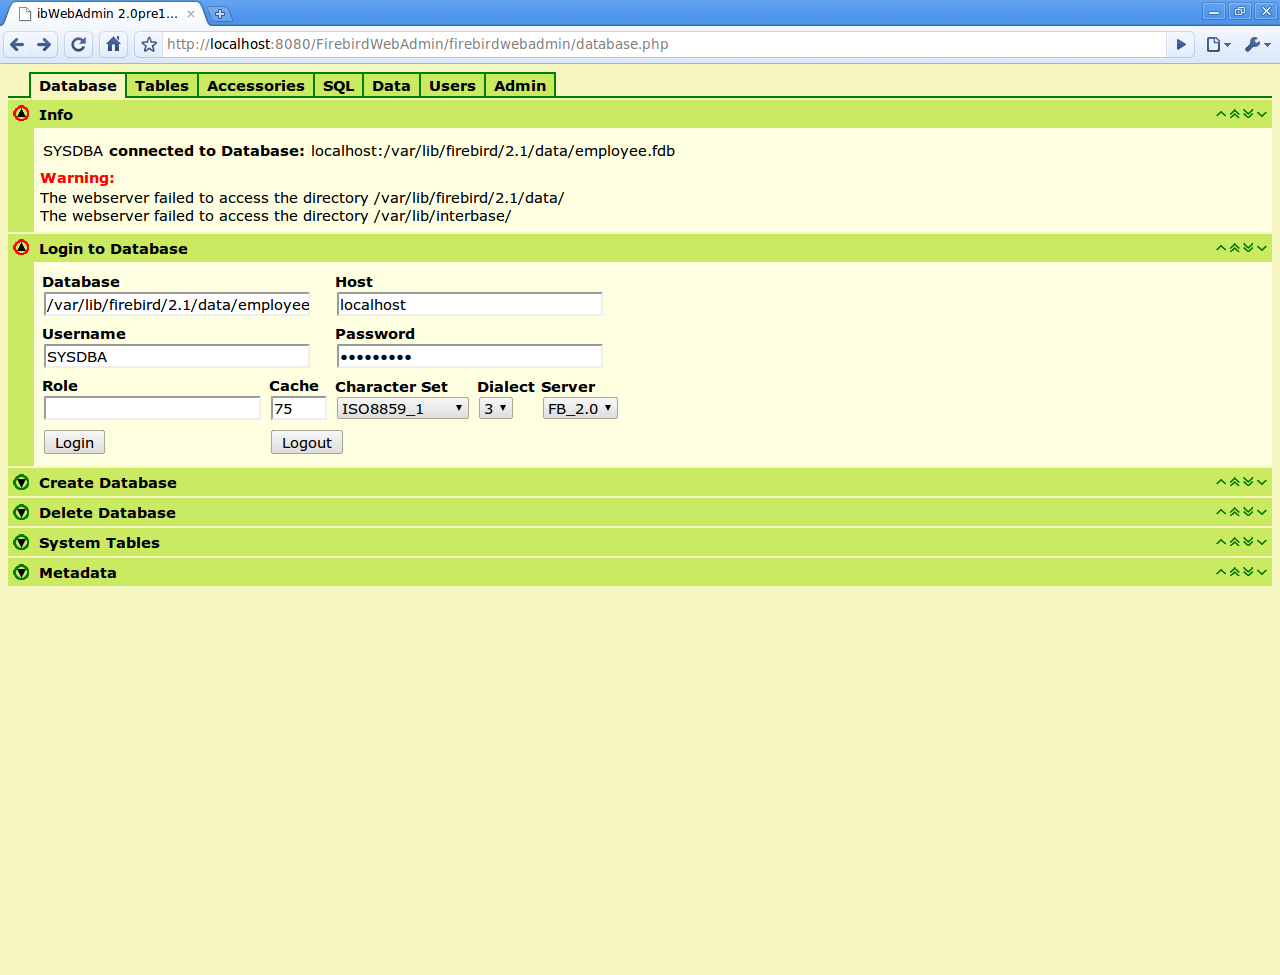
Next if you need to install an php administration tool like Firebird Web Admin
sudo apt-get install git-core
git clone git://github.com/mariuz/firebirdwebadmin.git
mv firebirdwebadmin /var/www/firebirdwebadmin
and load it in the browser http://localhost/firebirdwebadmin
It should look like this screen shot
=Other Firebird Related Guides=
You can start with the main Firebird documentation.
To use Ruby language with firebird I wrote a tutorial on howto install the stable driver.
For Ruby on Rails i wrote howto install the Firebird Active Record Adapter and start an application.
To use python you must use the official stable firebird python driver and here is howto install and use the driver.
For Lazarus IDE i wrote an visual guide on howto use the database aware components in a simple application that uses Firebird.
Lua Language does have a good driver and there is a Getting started guide with firebird on ubuntu
Server Side Javascript is served with the help of a pure Javascript nodejs driver


